Dream Coop Design! Draw Your Feathered Paradise
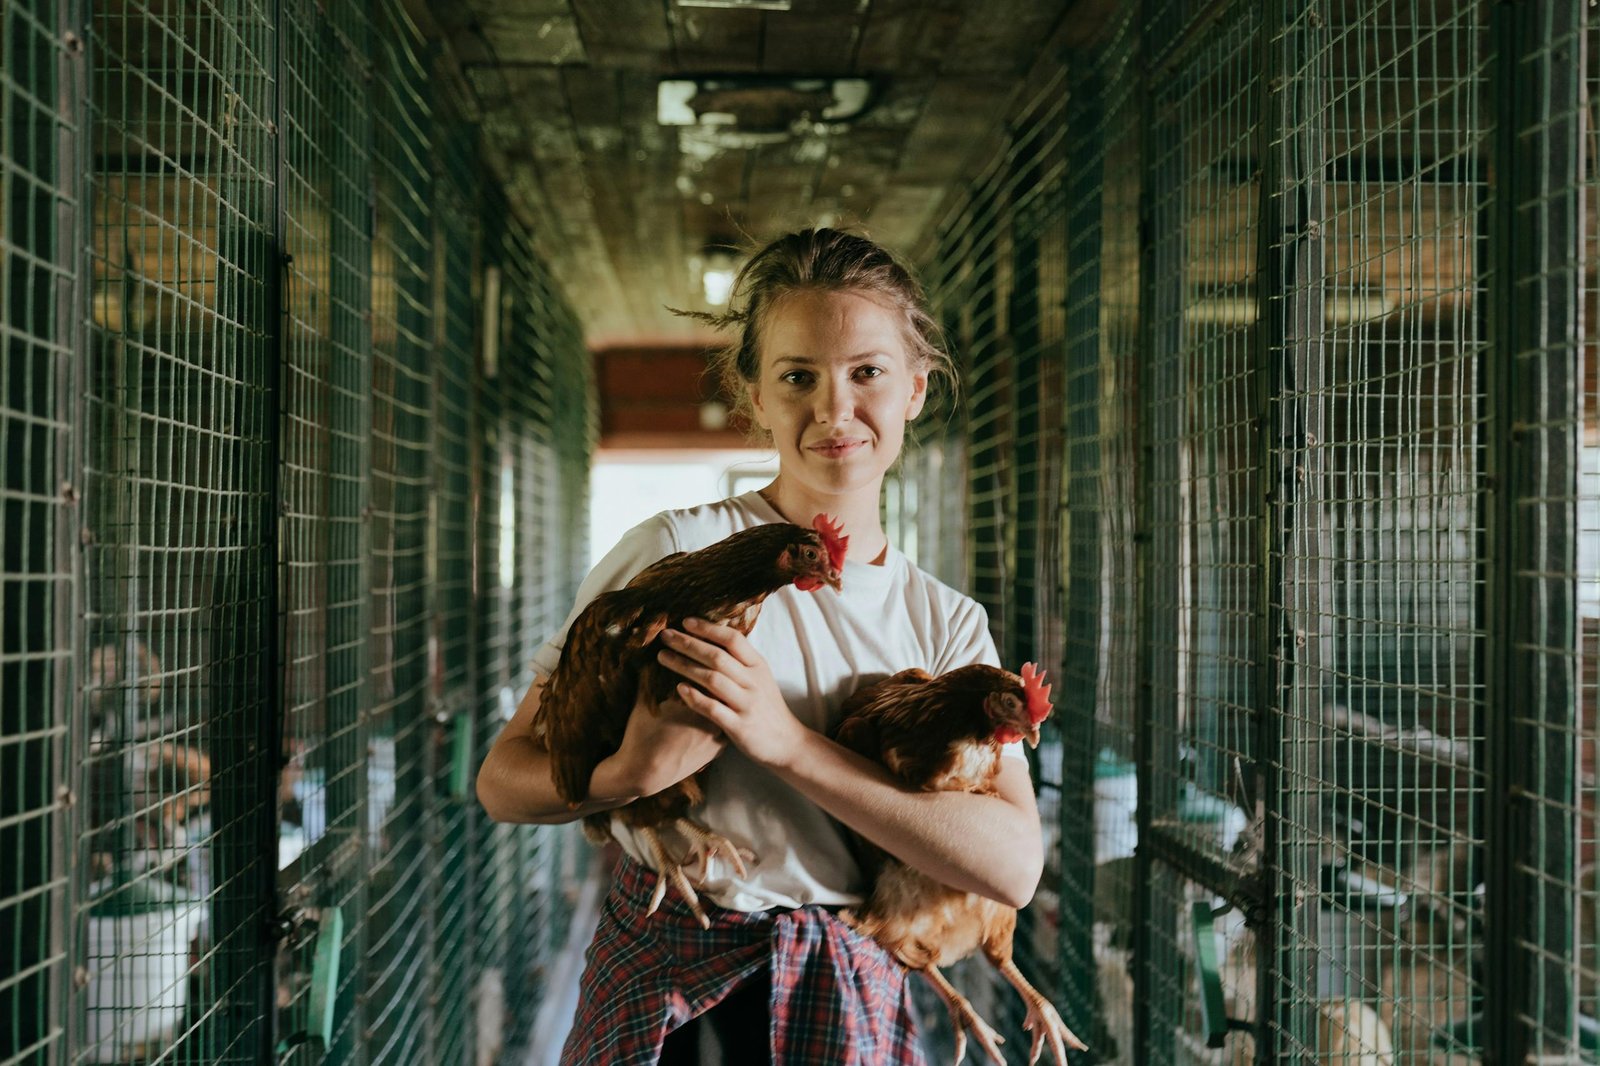
So, you’re interested in creating your chicken coop? Whether you’re a seasoned artist or just starting, drawing a chicken coop can be a fun and rewarding experience. In this guide, we’ll walk through two methods of How to Draw a Chicken Coop, from simple to more detailed designs. So grab your pencil and paper, and let’s get started!
Method 1: Simple Chicken Coop
This method is perfect for beginners or young children who want to learn the basics of drawing a chicken coop.
Steps
- Roof: Start by drawing a slanted rectangle at the top of your page. This rectangle will serve as the roof of the coop.
- Walls: Draw a rectangle Below the roof to form the coop’s main body. Ensure that the width of this rectangle is smaller than the base of the slanted roof.
- Door: Draw a rectangle representing the doorway on one side of the coop. You can add a small knob or handle for additional detail.
- Ground: Draw a horizontal line at the bottom of the rectangle to represent the ground on which the coop sits.
- Optional Details: Add a few optional details, such as a nesting box inside the coop (a smaller rectangle next to the back wall) or a roost (a horizontal line near the top of the coop’s inside).
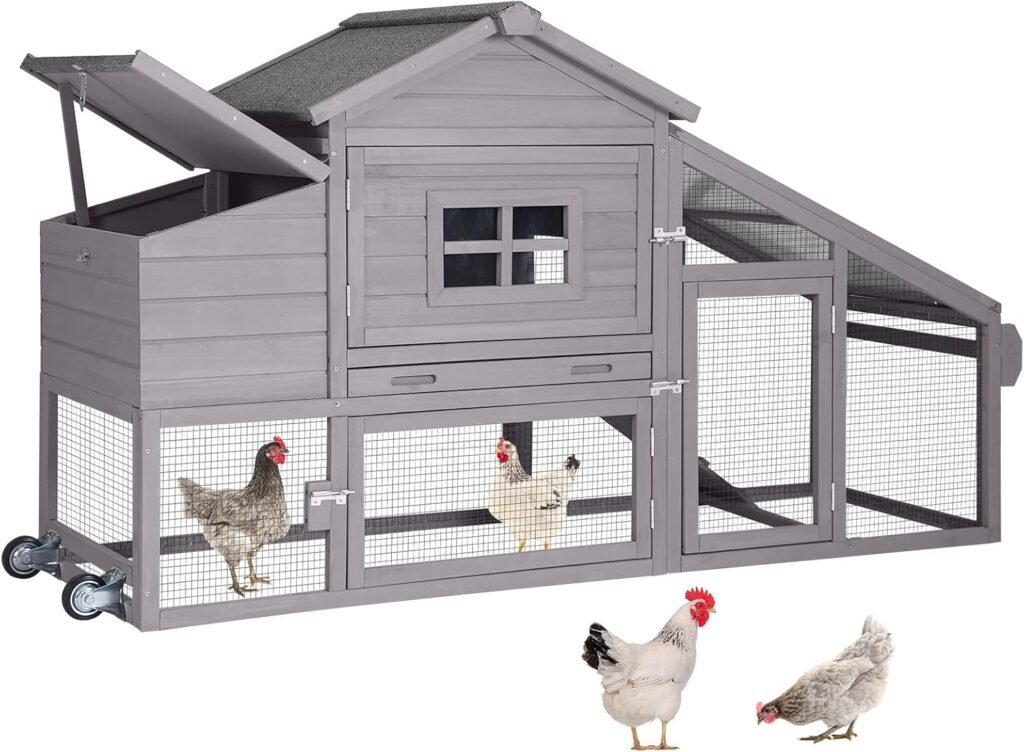
Method 2: More Detailed Chicken Coop
This method provides a more realistic-looking depiction of a chicken coop with additional details.
Steps
- Base: Begin by drawing a rectangle to represent the coop’s base.
- Front Wall: Draw two vertical lines starting from a point above the rectangle’s top edge on one side of the base rectangle. Connect the bottom ends of these lines with a horizontal line to create a slanted front wall with a peak.
- Back Wall: Draw a vertical line on the opposite side of the base rectangle. This will serve as the back wall of the coop.
- Connecting Walls: Draw two short lines at an angle to connect the top corners of the front wall to the top of the back wall. This creates a slanted roofline for the coop.
- Door: On the front wall, draw a rectangle for the doorway with a small horizontal line above it to represent the doorframe.
- Window (Optional): Add a small square or rectangle to depict a window on one of the walls.
- Additional Details: Enhance your drawing with extra details such as a roost (a horizontal line near the top inside), nesting boxes (rectangles stacked inside), a ramp leading up to the door (a diagonal line from the ground to the doorway), and chicken wire (scribble lines on the appropriate sections of the coop).
Tips for Drawing Your Chicken Coop
- Use a Ruler: A ruler can help maintain precision in your drawing for straight lines.
- Start with a Pencil: Sketch your design lightly before committing to pen or marker lines.
- Get Creative: Feel free to add personal touches like chickens peeking out or unique architectural features.
Drawing a chicken coop can be fun and creative for all ages. Whether you opt for a simple or more detailed design, the result will surely be something to consider!
Read Also: How Do Chickens Sleep
Final Words
Drawing a chicken coop is a rewarding endeavor that allows you to unleash your creativity while learning about architectural design. By following the steps outlined in this guide, you can create a functional and visually appealing coop. So gather your supplies and start sketching – your feathered friends will thank you!

