How Often to Clean Your Chicken Coop

Maintaining a clean chicken coop is essential for keeping your flock healthy, comfortable, and productive. A dirty coop can lead to health problems, pest infestations, and reduced egg production. This guide provides a detailed breakdown of cleaning schedules, techniques, and solutions for common coop maintenance challenges.
Why is Chicken Coop Cleaning Important?
A clean chicken coop benefits not only your flock but also you as the caretaker. The environment your chickens live in directly impacts their health, behavior, and productivity. Let’s explore the key reasons why regular coop cleaning is non-negotiable.
Health Benefits of a Clean Coop
- Disease Prevention: Harmful bacteria such as E. coli and salmonella thrive in dirty conditions. Cleanliness minimizes these risks.
- Pest Control: Lice, mites, and rodents are attracted to soiled bedding and leftover feed. Regular cleaning deters infestations.
- Better Respiratory Health: Ammonia buildup from droppings can irritate chickens’ respiratory systems. Good ventilation and cleanliness reduce this hazard.
Productivity Boost
- Egg Quality: Dirty nesting boxes lead to soiled eggs, reducing their quality and increasing the risk of contamination.
- Stress Reduction: Chickens are less stressed in clean environments, which promotes regular egg-laying and healthier behavior.
How Often Should You Clean a Chicken Coop?
The frequency of cleaning depends on various factors, including the number of chickens, the size of the coop, the type of bedding, and seasonal considerations. Below is a detailed cleaning schedule to help you maintain your coop effectively.
Daily Tasks
- Dropping Removal: Spot clean high-traffic areas to remove droppings from roosting bars and bedding.
- Waterer and Feeder Maintenance: Rinse waterers and feeders to prevent algae and bacterial buildup.
- Quick Inspections: Look for signs of pests or damage to the coop.
Weekly Cleaning
- Replace Soiled Bedding: Remove heavily soiled areas and add fresh straw, pine shavings, or sand.
- Nesting Box Refresh: Replace bedding and check for broken eggs or debris.
- Clean Feeders and Waterers: Use a natural cleaning solution to scrub and rinse thoroughly.
Monthly Deep Clean
- Remove All Bedding: Strip the coop of all bedding and materials.
- Scrub Surfaces: Use a mixture of vinegar and water to clean floors, walls, and roosting bars.
- Disinfect: Apply a non-toxic disinfectant to eliminate lingering bacteria.
- Ventilation Check: Ensure vents are clean and free of debris.
Seasonal Deep Cleaning
- Spring: Focus on removing moisture buildup from winter and prepare for increased egg-laying.
- Summer: Prioritize ventilation and pest control during hot, humid months.
- Fall: Winterize the coop by sealing gaps and adding insulation.
- Winter: Use extra bedding and ensure waterers don’t freeze.

Step-by-Step Guide to Cleaning Your Chicken Coop
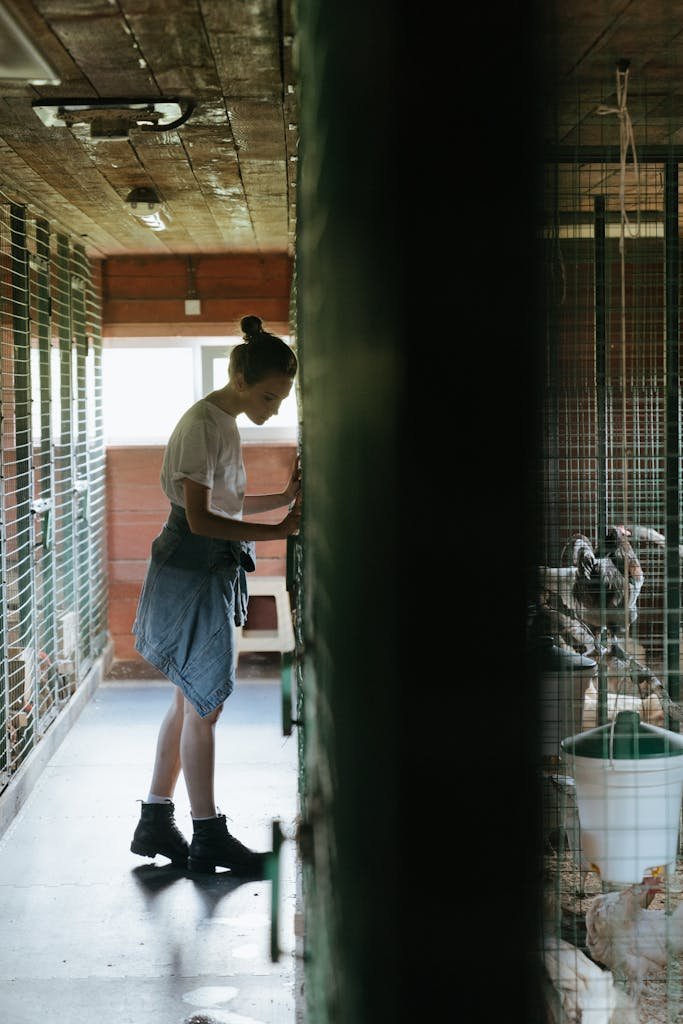
1. Preparing for the Clean
- Gather supplies such as gloves, a scraper, a broom, a bucket, and natural cleaning solutions.
- Temporarily relocate your chickens to a secure area.
2. Removing Bedding and Waste
- Start with the nesting boxes, followed by the roosting bars and floors.
- Use a scraper or trowel to remove stubborn droppings.
3. Scrubbing and Washing
- Mix one part white vinegar with two parts water for a natural cleaning solution.
- Scrub all surfaces, including floors, walls, and nesting boxes.
4. Disinfecting
- Apply a non-toxic disinfectant and let it sit for 10 minutes before rinsing.
- Focus on high-contact areas such as nesting boxes and roosting bars.
5. Drying and Replacing Bedding
- Allow the coop to air dry completely.
- Add a thick layer of fresh, dry bedding to maintain warmth and cleanliness.
Cleaning Different Types of Coop Materials
Coops are made from various materials, each with specific cleaning requirements. Here’s how to maintain wood, plastic, and metal coops effectively.
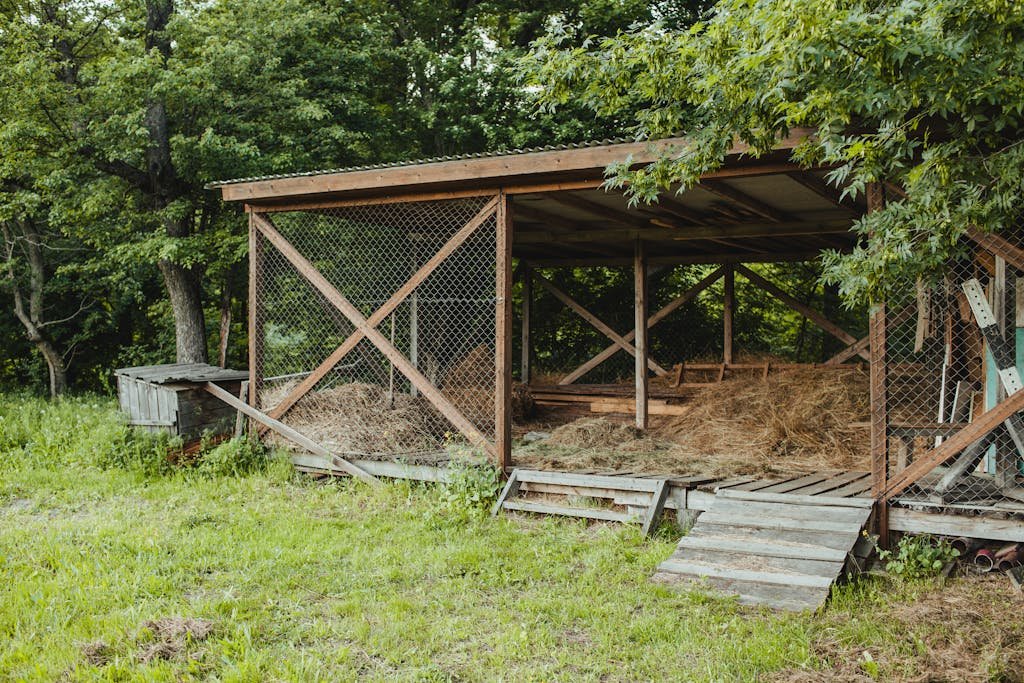
Wooden Coops
- Challenges: Wood absorbs moisture, leading to mold and pests.
- Cleaning Tips: Use a scraper to remove dirt and apply a wood-safe sealant to protect against moisture.
Plastic Coops
- Advantages: Easy to clean and doesn’t absorb odors.
- Cleaning Tips: Hose down with warm water and scrub with mild soap. Avoid abrasive cleaners to prevent scratches.
Metal Coops
- Challenges: Prone to rust if not maintained properly.
- Cleaning Tips: Remove rust spots with a wire brush and apply rust-resistant paint. Use a degreaser for stubborn stains.
Read Also: Is Garlic Good for Chickens?
Seasonal Challenges and Solutions
Each season brings unique challenges that require adjustments to your cleaning routine. Here’s how to prepare:

Spring Cleaning
- Clear out winter bedding, which may harbor moisture and mold.
- Inspect for leaks or damage caused by snow or rain.
Summer Maintenance
- Ventilation is key. Ensure windows and vents are open and clean.
- Replace bedding frequently to manage odor and pests.
Fall Preparations
- Winterize your coop by sealing drafts and adding insulation.
- Clean and inspect feeders and waterers for wear.
Winter Cleaning
- Use extra bedding for insulation and replace it regularly to avoid dampness.
- Keep waterers thawed and clean to ensure a steady water supply.
Eco-Friendly Cleaning Solutions for Chicken Coops
Switching to eco-friendly cleaners ensures safety for your chickens while reducing environmental impact. Here are some effective options:
Vinegar Solution
- Mix one part vinegar with three parts water for a natural disinfectant.
- Use it to clean surfaces, nest boxes, and feeders.
Baking Soda Paste
- Combine baking soda and water to form a paste.
- Apply to stubborn stains and scrub with a brush.
Essential Oils
- Add a few drops of lavender or tea tree oil to water for a pest-repelling spray.
- Use sparingly to avoid overwhelming the chickens.
How to Prevent Common Coop Problems
Pests
- Solution: Dust diatomaceous earth in bedding and corners to repel mites and lice. Seal gaps to block rodents.
Odors
- Solution: Sprinkle lime in bedding to neutralize ammonia smells. Improve airflow by installing vents.
Diseases
- Solution: Disinfect tools and footwear before entering the coop. Isolate sick birds immediately to prevent spread.
The Role of a Clean Coop in Chicken Well-being
A clean coop has a direct impact on your flock’s mental and physical health. Here’s why it’s crucial:
- Stress-Free Environment: Chickens thrive in clean spaces, reducing stress-induced behaviors like pecking.
- Increased Egg Production: A clean and comfortable environment encourages consistent egg-laying.
- Physical Health: Clean bedding prevents foot sores and infections.

Expert Tips for Efficient Coop Cleaning
- Invest in Quality Bedding: Pine shavings and straws are excellent options for absorbency and comfort.
- Create a Cleaning Checklist: Keep track of daily, weekly, and monthly tasks to stay organized.
- Use Natural Lighting: Clean during daylight hours for better visibility and thoroughness.
Read Also: How Much Water Do Chickens Drink in a Day? An Expert Guide
Ending Thoughts
Maintaining a clean chicken coop is about more than aesthetics. It’s a commitment to your flock’s health, happiness, and productivity. By following these detailed cleaning schedules and eco-friendly methods, you’ll prevent diseases, manage odors, and enhance the overall well-being of your chickens.
Start implementing these cleaning routines today to create a thriving environment for your chickens. Not only will they reward you with healthier eggs and reduced stress, but you’ll also enjoy the satisfaction of providing them with the best care possible.

